Сипаттама
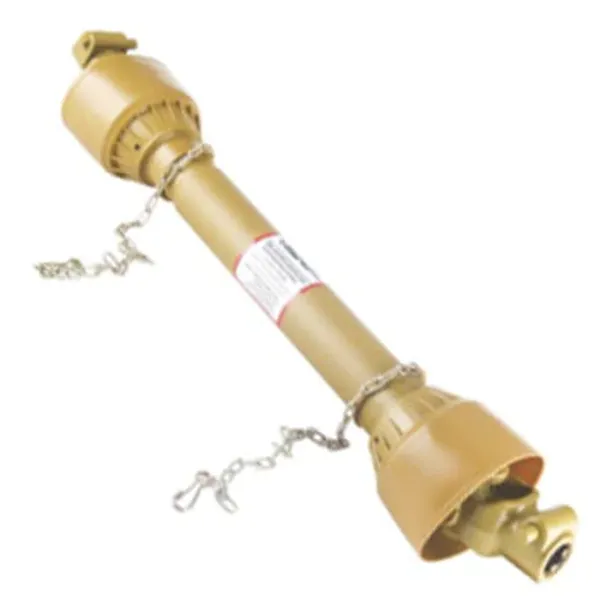
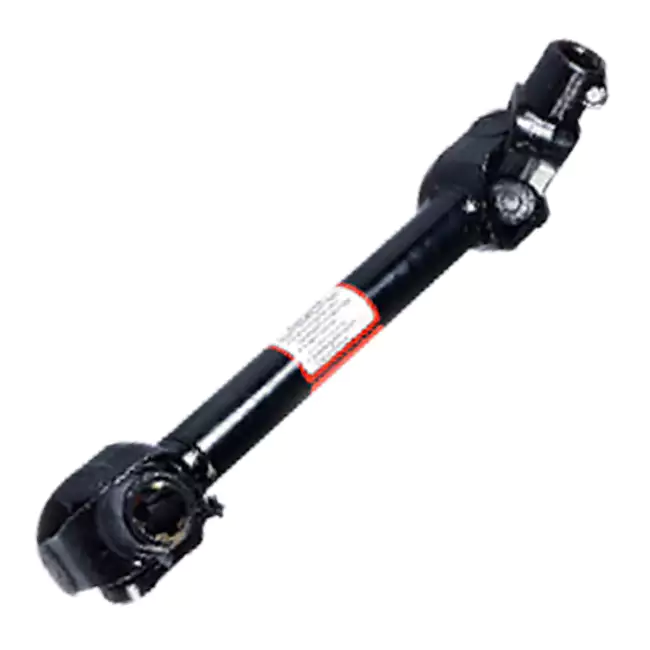
PTO Shaft for New Holland Disc Mower Discbines
Agricultural PTO Shaft Australia — Pto Shaft For New Holland Disc Mower Manufacturer
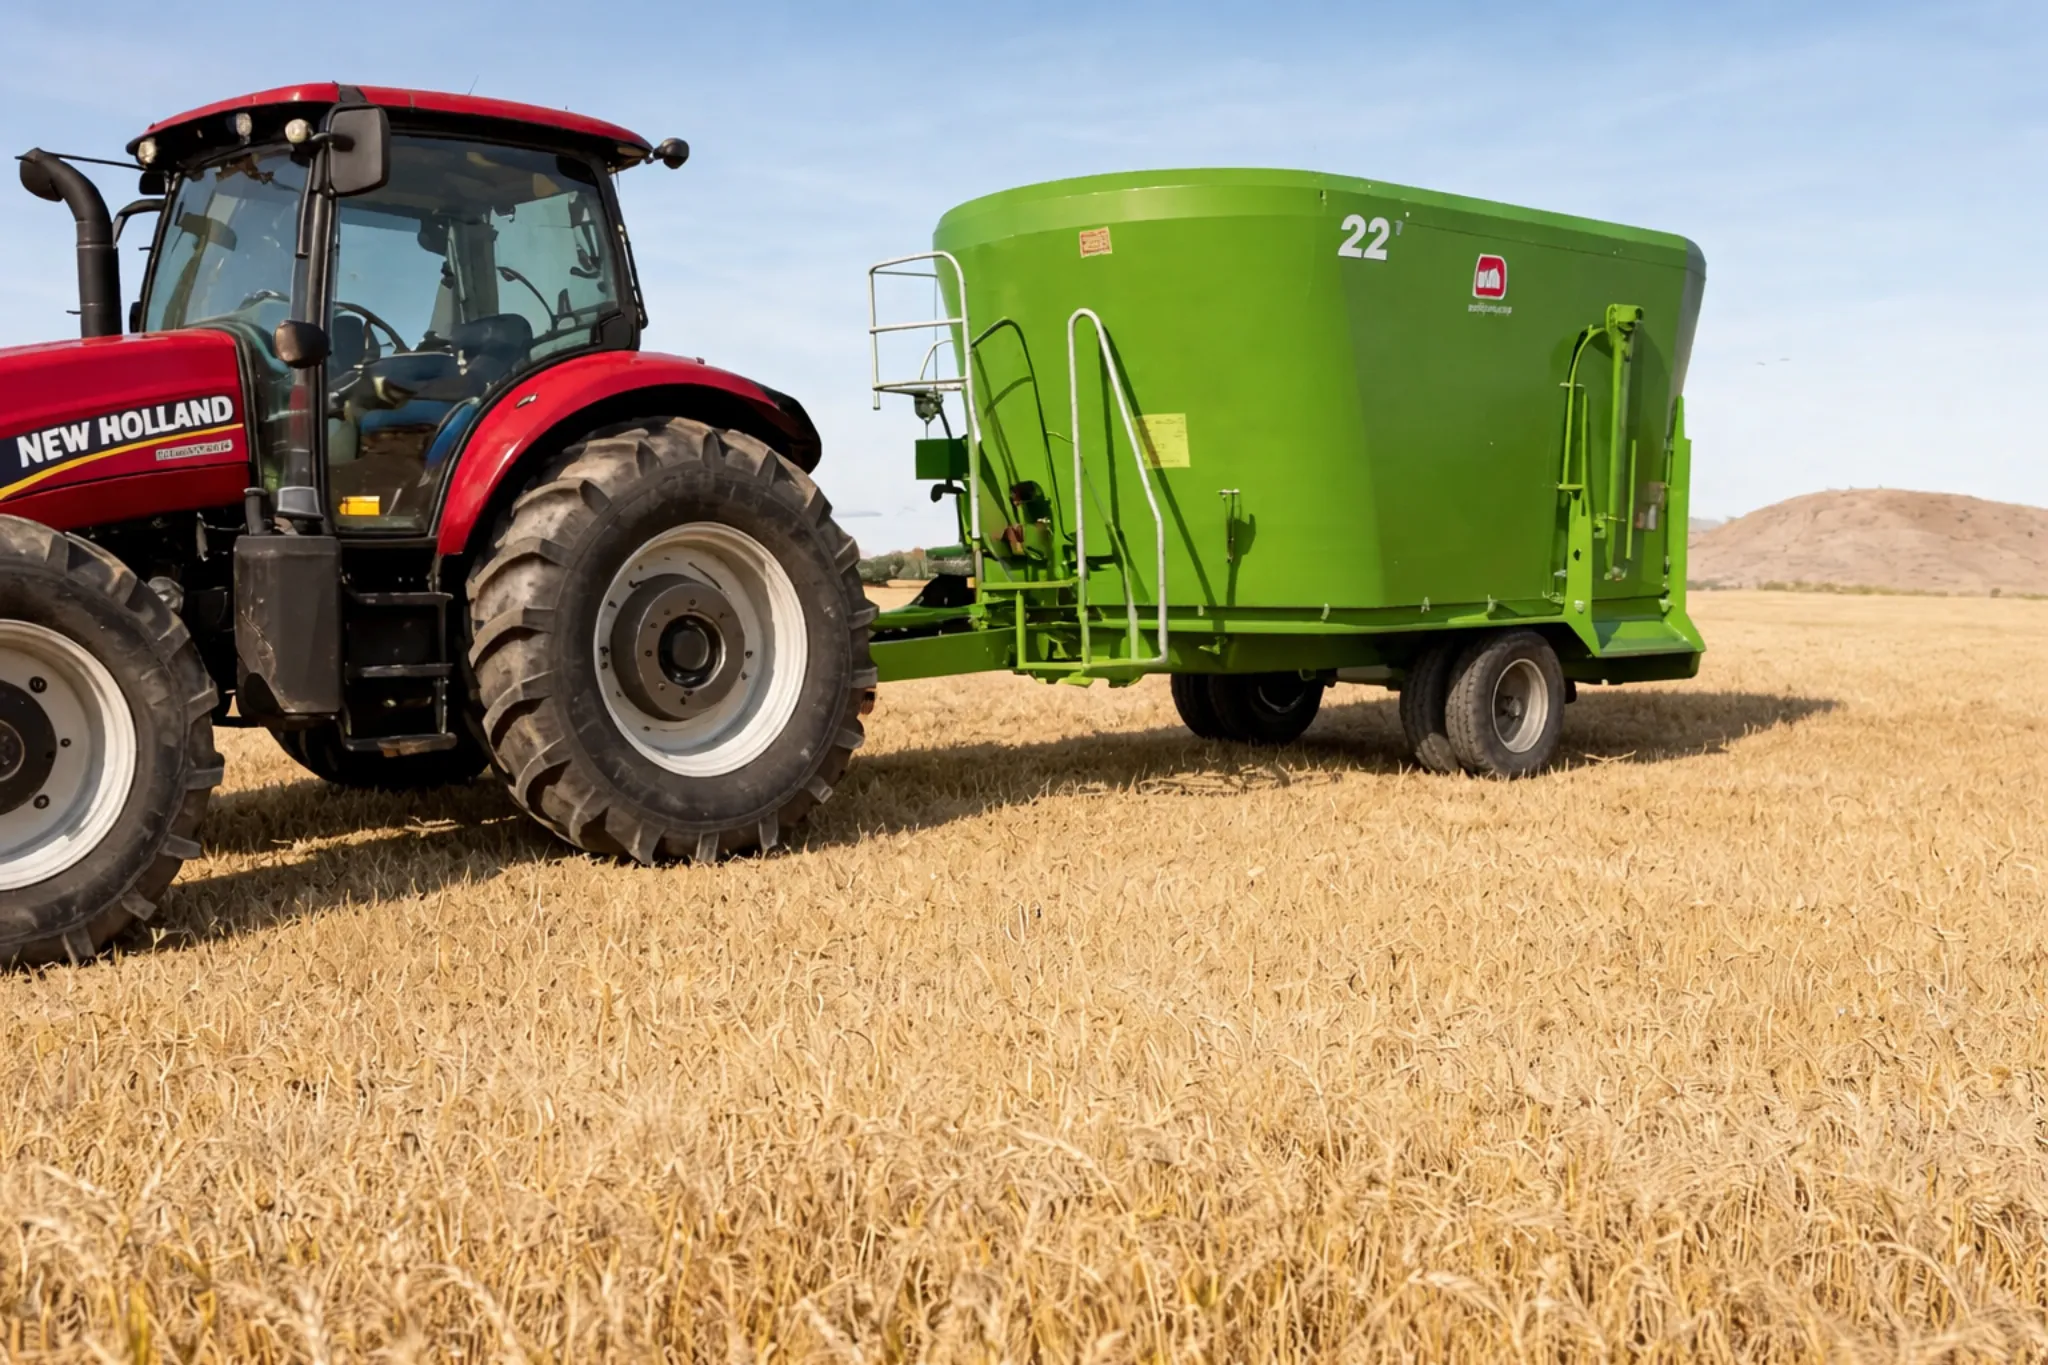
New Holland’s Discbine series — covering H7220, H7320, H7330, H7450, H7550, H7560 — is one of the most widely deployed disc mower-conditioner platforms in Australian and North-American hay paddocks. Each model has subtly different working-length and clutch-rating requirements, and a generic ‘one-size-fits-all’ shaft almost always wears out a season early. This PTO shaft is built specifically against New Holland’s published spec for the Discbine input shaft.
This PTO shaft for New Holland disc mower is part of our agricultural-driveline catalogue, manufactured in an ISO-9001-certified facility in Hangzhou, China and shipped to farmers, dealers and OEMs across Australia, New Zealand, Europe and the Americas. As a dedicated tractor PTO shaft manufacturer with over 22 years of design, broaching, balancing and assembly experience, we treat the PTO driveline as what it really is — a high-energy power-transfer device that, when correctly engineered, runs invisibly for years; when poorly built, fails catastrophically and damages everything around it.
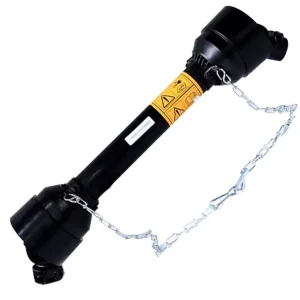
Compatible machinery includes New Holland Discbine H7220, H7230, H7320, H7330, H7450, H7550, H7560 disc mower-conditioners, plus any other PTO-driven implement that matches the dimensional, spline and torque envelope of this model. The shaft is supplied complete with a two-piece ISO 5673 plastic guard, safety chain, lubrication nipples and a calibration tag traceable back to its production batch — letting you re-order an identical replacement five years from now without guessing the spec.
Our PTO drive shaft supplier service is built around three commitments: (1) we will not ship a shaft until it has passed dynamic balance to G6.3 or better; (2) every cross & bearing kit is greased with EP-2 lithium and seal-tested before assembly; and (3) every guard system is impact-tested at –20 °C to confirm it will not shatter in a cold-morning start.
Technical Specifications — Tractor PTO Drive Shaft
The table below lists 20 verified parameters for this model. Spec sheets in CAD-compatible PDF and STEP/IGES are available on request.
| Параметр | Құндылық |
|---|---|
| Series | S6–S8 star series |
| Working Length (closed) | 860 mm / 34″ |
| Working Length (extended) | 1380 mm / 54″ |
| Cross & Bearing Type | 35 × 106.5 mm |
| Yoke Type | Push pin (PP) |
| Tractor-end Spline | 1 3/8″ 21 spline |
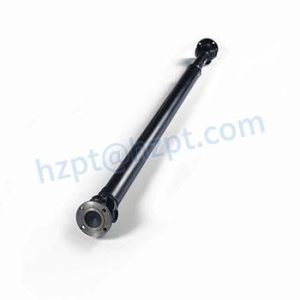
| Tube Profile | Triangular (3-lobe) |
| Tube Wall Thickness | 4.5 mm |
| Cross Material | AISI 8620 carburized |
| Cross Hardness (HRC) | 58–63 HRC |
| Bearing Type | INA-grade needle bearings |
| Power Rating | 210 HP / 156 kW @ 1000 rpm |
| Torque Rating | 210 Nm continuous |
| Operating Angle (each joint) | ≤ 25° standard joint |
| Safety Device | Ratchet clutch (RA) |
| Shielding Type | Heavy-duty triple-cone shield |
| Guard Color | Red (RAL 3020) |
| Беттік өңдеу | Black oxide + oil |
| Packing | Anti-rust paper + carton |
| Balance Grade | G6.3 each section |
Customisation Scope — OEM & ODM PTO Shaft Service
Every dimension on this PTO shaft for New Holland disc mower can be customised to your tractor-and-implement geometry. The customisation envelope is wide; the table below summarises the parameters most often modified for our Australian and OEM customers:
| Customisation Parameter | Available Range |
|---|---|
| Working length (closed) | 580 mm to 1,250 mm — cut to within ±2 mm |
| Spline pattern (each end) | 1 1/8″-6, 1 3/8″-6, 1 3/8″-21, 1 3/4″-6, 1 3/4″-20, plus metric DIN/ASAE/JIS and customer-supplied OEM |
| Yoke style | Push pin, bolt pin, double push pin, ball-collar, quick-release, snap-ring, friction-lock |
| Tube profile | Star, lemon, triangular, square, hex, splined round, OEM custom |
| Safety device | Shear-bolt clutch, friction clutch (single/double disc), ratchet, cam, free-wheel, slip-clutch |
| Guard colour | Yellow / orange / black / green / red / RAL or Pantone match |
| Surface finish | Cataphoretic (KTL), powder-coat, zinc-plate, hot-dip galvanise, phosphate + epoxy |
| Logo / branding | Silk-screen on guard, embossed on yoke (≥200 pcs), engraved end caps |
| Қаптама | Anti-rust paper + carton / honeycomb double-wall / wooden case / pallet shrink-wrap / OEM box |